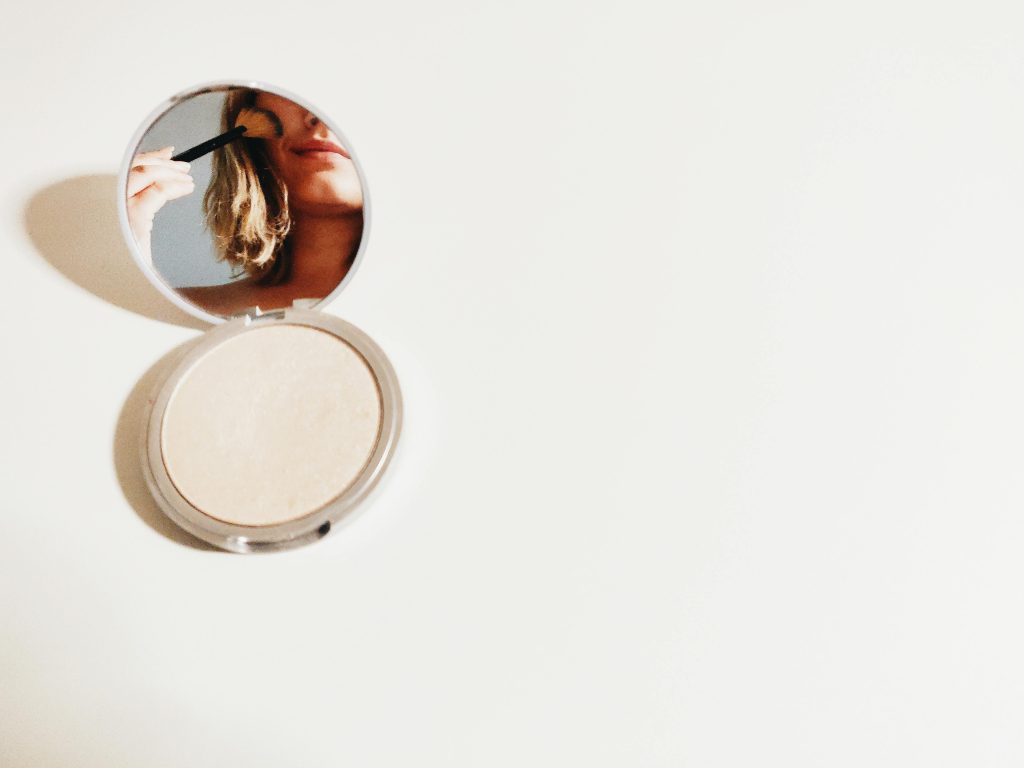
We’ve all seen those flawless, glowing TikTok faces that look like they’ve been airbrushed by a $500 app. But here’s the truth: you don’t need a filter when your makeup routine is built to blur, lift, and glow in real life. Creating a filter-like look isn’t about piling on products—it’s about using the right techniques and formulas that mimic the soft-focus, poreless, radiant effect of your favorite beauty filter. If you want skin that looks smooth, lifted, and camera-ready at all times, keep reading. This guide walks you through every step to master the look.
Step One: Skin Prep Is the Real Filter
The biggest mistake people make when trying to look flawless is skipping skincare. That “clean” filtered finish starts way before foundation. Cleanse your face with a gentle, hydrating cleanser that won’t strip your skin. Follow with a toner or essence to add moisture and balance. Apply a hydrating serum—hyaluronic acid is a staple—and lock it in with a lightweight moisturizer that leaves a dewy finish. Don’t forget SPF; go for a glowy sunscreen like Supergoop Glow Screen or a Korean formula with a radiant finish. This layer creates slip and hydration that makes all your base products glide on like silk. For extra glow, mix a few drops of facial oil or liquid highlighter into your moisturizer.
Step Two: Prime to Blur
Primers aren’t optional for this routine—they’re essential. Use a blurring primer (like Tatcha Liquid Silk or ELF Poreless Putty) to fill in fine lines and pores without leaving a heavy or matte residue. If you have combination or oily skin, use a mattifying primer on your T-zone and a hydrating one on the cheeks. Press the primer into your skin with fingers or a sponge to create a smooth, grippy surface for foundation. This step sets the tone for the filter effect: blurred, soft, and balanced.
Step Three: Choose a Foundation That Looks Like Skin
Heavy foundation ruins the illusion of a natural filter. You want coverage that looks effortless. Use a skin tint, serum foundation, or a radiant-finish medium coverage foundation like Fenty Eaze Drop, NARS Light Reflecting, or Sephora Best Skin Ever. Blend with a damp sponge to push product into the skin instead of letting it sit on top. Use a light layer and only build coverage where you need it—usually the center of the face, around the nose, and any blemishes. You’re not trying to mask your skin, just refine it.
Step Four: Conceal with Lift
Concealer is your best friend when trying to fake that lifted, awake, sculpted effect. Use a creamy, hydrating concealer like Kosas, Maybelline Fit Me, or Too Faced Born This Way. Apply in a triangle under the eyes, dot around the nose, center of the chin, and tops of the cheekbones. Blend upward to lift the face. Use a lighter concealer shade on the inner corners of the eyes and the outer edges to mimic the lightening effect of beauty filters. Let the concealer sit for 30 seconds before blending for maximum coverage with less product.
Step Five: Sculpt with Creams
Cream contour and blush give the face the dimension and warmth that filters naturally enhance. Apply a cool-toned contour stick under your cheekbones, on the sides of your nose, and jawline. Blend upward with a dense brush or sponge to keep the look snatched. Use a rosy or peachy cream blush just above the apples of the cheeks, blending toward the temples for that lifted “model off-duty” effect. Dab some blush across the nose for a cute sun-kissed finish. Use your contour shade as a soft eyeshadow base to tie the whole face together without extra product.
Step Six: Set Without Caking
Too much powder kills the filter effect. Lightly set the under-eyes and T-zone using a finely-milled translucent powder like Huda Beauty Easy Bake, Laura Mercier, or Fenty Invisimatte. Use a velour puff to press—not swipe—the powder into the skin. Focus only on areas that crease or get oily. Then take a blurring finishing powder like Kosas Cloud Set or Makeup Forever HD and lightly buff around the mouth, forehead, and sides of the nose. If you have dry or textured skin, skip baking altogether and go for a light dusting to avoid buildup.
Step Seven: Eye Definition Without Drama
Filtered eyes are bright, open, and softly defined. Use a neutral brown or taupe matte shadow in the crease and slightly under the eye to create subtle shape. Pop a champagne shimmer on the inner corner to lift and brighten. Use a nude or white eyeliner on your lower waterline to make your eyes look bigger and more awake. Curl your lashes and apply a lengthening mascara that fans the lashes outward, or use half-lashes focused on the outer corners for that flared, lifted cat-eye effect without the eyeliner.
Step Eight: Fluffy, Filtered Brows
Bold, boxy brows are out—soft, lifted brows are in. Use a fine-tip brow pencil to fill in sparse areas with hair-like strokes. Set the brows with a tinted or clear gel brushed upward for a laminated look. Avoid carving them out or over-defining the arch. A filter-like brow looks natural, feathered, and effortless.
Step Nine: Plump Lips That Pop
Filtered lips have a soft overlined look with a plush finish. Start with a brown or pinky-brown lip liner that’s close to your natural lip tone. Slightly overline the Cupid’s bow and center of your bottom lip. Fill in with a satin or blurring matte lipstick in a muted tone like warm nude, peach, or mauve. Add a gloss or lip oil just in the center of your lips to make them look pillowy and dimensional. Highlight the Cupid’s bow and just under the bottom lip for extra pop.
Step Ten: Lit-From-Within Highlight
The final touch: glow. Use a cream or liquid highlighter—nothing glittery—on the tops of the cheekbones, tip of the nose, and above the brows. Dab with fingers or a sponge for the most natural application. Avoid powder highlighters unless they’re ultra-fine and have a skin-like finish. You want that “did she just drink 3 gallons of water?” glow—not disco ball realness.
Final Thoughts
A filter-look routine isn’t about hiding who you are—it’s about enhancing what’s already there using techniques that make your skin look its best. When you prep well, blend with intention, and use skin-like formulas, you can achieve that blurred, soft, radiant finish every day. This isn’t about chasing perfection—it’s about looking and feeling flawless in the most effortless way.
Stick around—The Wellness Diaries is your go-to guide for calm, clarity, and care.


