Step 1: Start With Clean, Prepped Skin
Great makeup starts with skincare. Begin by washing your face with a gentle cleanser to remove any oil or residue. Follow up with toner if you use one, then apply a lightweight moisturizer to hydrate your skin and create a smooth base. If you’re wearing makeup during the day, don’t forget SPF—use a broad-spectrum sunscreen with at least SPF 30. For extra longevity, layer a primer on top. Choose one based on your skin type: mattifying for oily skin, hydrating for dry skin, or pore-filling if you want a smoother texture. Give it 30–60 seconds to settle before moving on.
Step 2: Build Your Base With Foundation and Concealer
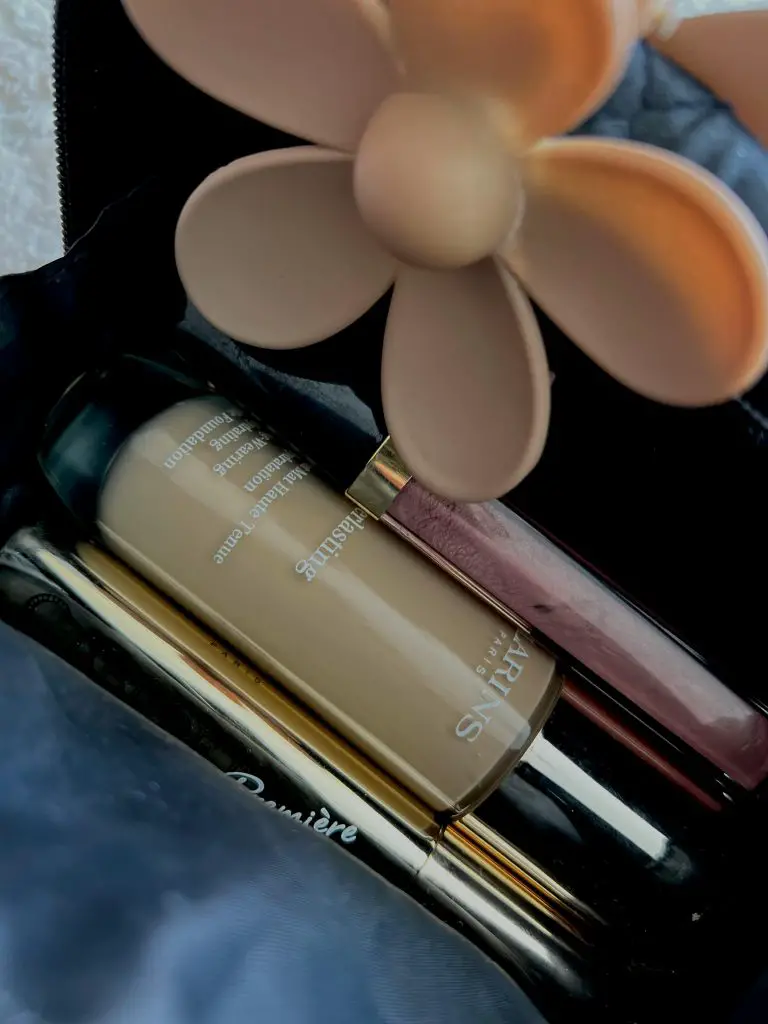
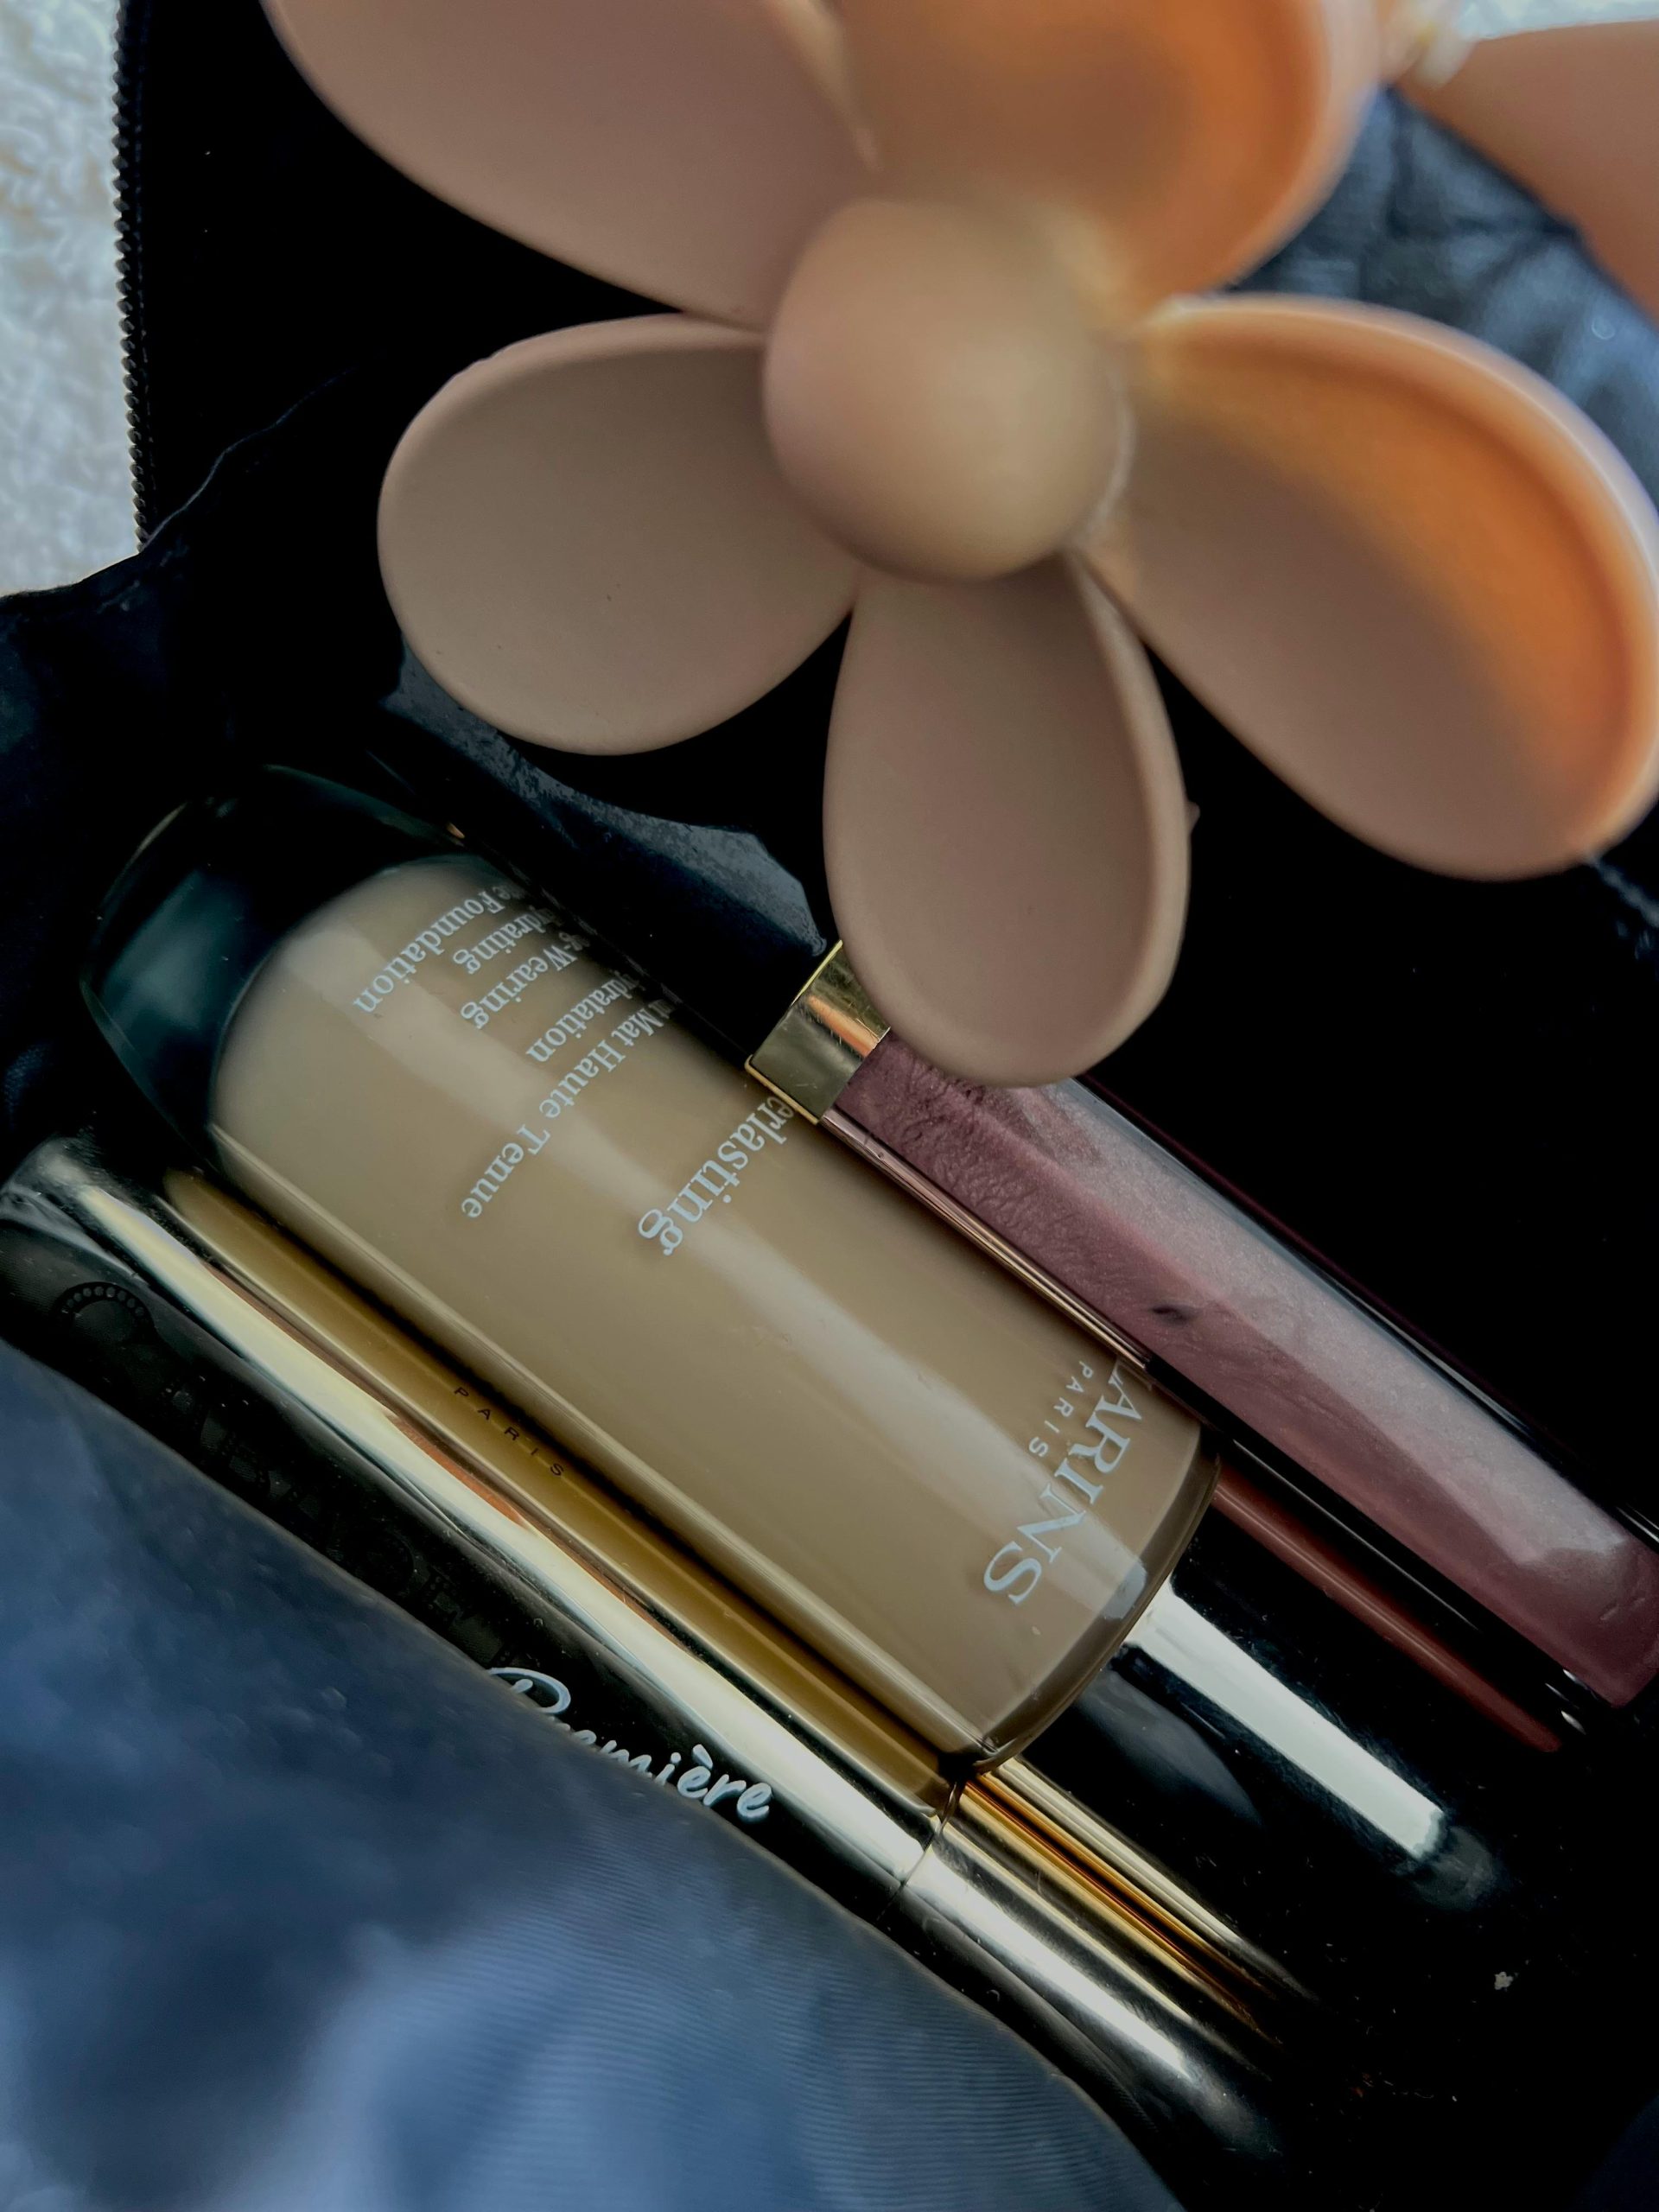
Use a foundation that matches your undertone and skin type. For a natural finish, go with a medium coverage formula that’s buildable. Apply small dots around your face—forehead, cheeks, chin, and nose—and blend using a damp beauty sponge for a seamless, skin-like effect. If you prefer brushes, opt for a dense foundation brush and use circular motions to buff the product in. Once your base is even, apply concealer to targeted areas like under the eyes, around the nose, and over any blemishes. Blend it in gently with your sponge, pressing rather than dragging for a crease-free finish.
Step 3: Set Strategically With Powder
To prevent creasing and oiliness, set your makeup using a translucent or tinted setting powder. Use a small brush or puff to apply powder under your eyes, around the nose, and anywhere you tend to get oily. Avoid dusting powder all over your face unless you want a matte finish—leave some areas glowing for a more natural, radiant look. If you have dry skin, consider using a hydrating setting spray instead or opt for a light dusting only where needed.
Step 4: Add Dimension With Contour and Bronzer
Now that your base is set, it’s time to bring back some definition. Use a matte contour or bronzer to warm up your complexion and sculpt your face. Apply it along your cheekbones, jawline, and the edges of your forehead. You can also lightly contour your nose if you’d like more definition. Blend well using a fluffy brush or a damp sponge to avoid harsh lines. For a more natural look, stick to shades that are only one or two tones deeper than your skin color.
Step 5: Blush and Highlight for a Healthy Glow
Blush brings life back to your face. Choose a cream or powder blush in a tone that complements your undertone—peach for warm skin, pink for cool, and mauve for neutral. Apply it to the apples of your cheeks and blend upwards toward your temples for a lifting effect. Next, use a highlighter to enhance your glow. Apply it to the tops of your cheekbones, the bridge of your nose, and your cupid’s bow. Cream highlighters melt into the skin for a dewy effect, while powders offer a more intense shine.
Step 6: Define the Brows
Your brows frame your face, so take time to shape and fill them in. Use a brow pencil to lightly outline your natural shape, then fill in sparse areas with hair-like strokes. Brush through with a spoolie to blend. If you prefer a fluffy or laminated look, go in with a clear or tinted brow gel to hold the hairs in place. The goal is to enhance, not overdraw—natural brows always win.
Step 7: Perfect the Eyes
Start by priming your eyelids to prevent creasing and help your eyeshadow last all day. Choose three shades: a light base, a medium crease color, and a deeper outer corner shade. Apply the lightest shade all over the lid, then blend the medium tone into your crease using a windshield-wiper motion. Add the darkest shade to the outer “V” to create depth, and blend until smooth. If you want shimmer, tap a metallic or satin shadow onto the center of your lid. Finish with eyeliner along the upper lash line (pencil for softness, liquid for sharpness) and a few coats of mascara. Curl your lashes beforehand for maximum lift.
Step 8: Add Final Touches With Lips
Exfoliate and hydrate your lips before applying product. Start by lining them with a lip liner that matches your natural lip color or the lipstick shade you plan to use. Lip liner adds structure and keeps your color from feathering. Fill in with a creamy lipstick or a tinted gloss, depending on your desired finish. For a fuller look, dab a touch of gloss on the center of your lips. You can also opt for a matte lip for long wear, or a tinted balm for a soft, hydrated pout.
Step 9: Set and Refresh
Lock everything in with a setting spray. This step helps melt powders into the skin, removes any cakey finish, and keeps your makeup in place throughout the day. After misting, you can press a clean beauty sponge into your skin to blend everything further and give a flawless, seamless finish. Keep blotting papers or a pressed powder compact in your bag for on-the-go touch-ups.
Final Thoughts
Makeup doesn’t have to be complicated—it’s about enhancing what you already have with confidence and intention. With the right tools, a few trusted products, and a bit of practice, you can create a polished everyday look that lasts from morning to night. Whether you’re heading to class, work, or a night out, this routine gives you a flawless, glowing base that’s customizable for any occasion.
Stick around—The Wellness Diaries is your go-to guide for calm, clarity, and care.


