Why Wig Installs Are That Girl
Whether you’re switching up your style or protecting your natural hair, a flawless wig install can elevate your whole look. The best part? You don’t need a stylist every time. With the right tools, techniques, and products made for Black hair, you can slay your wig at home—edges laid, lace melted, and confidence on ten.
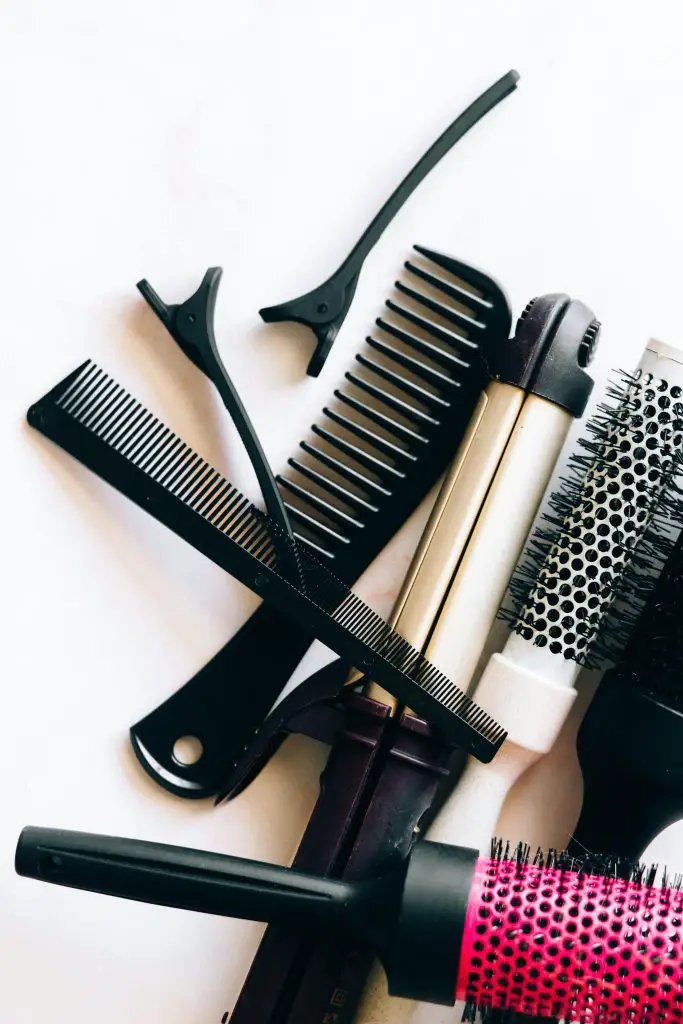
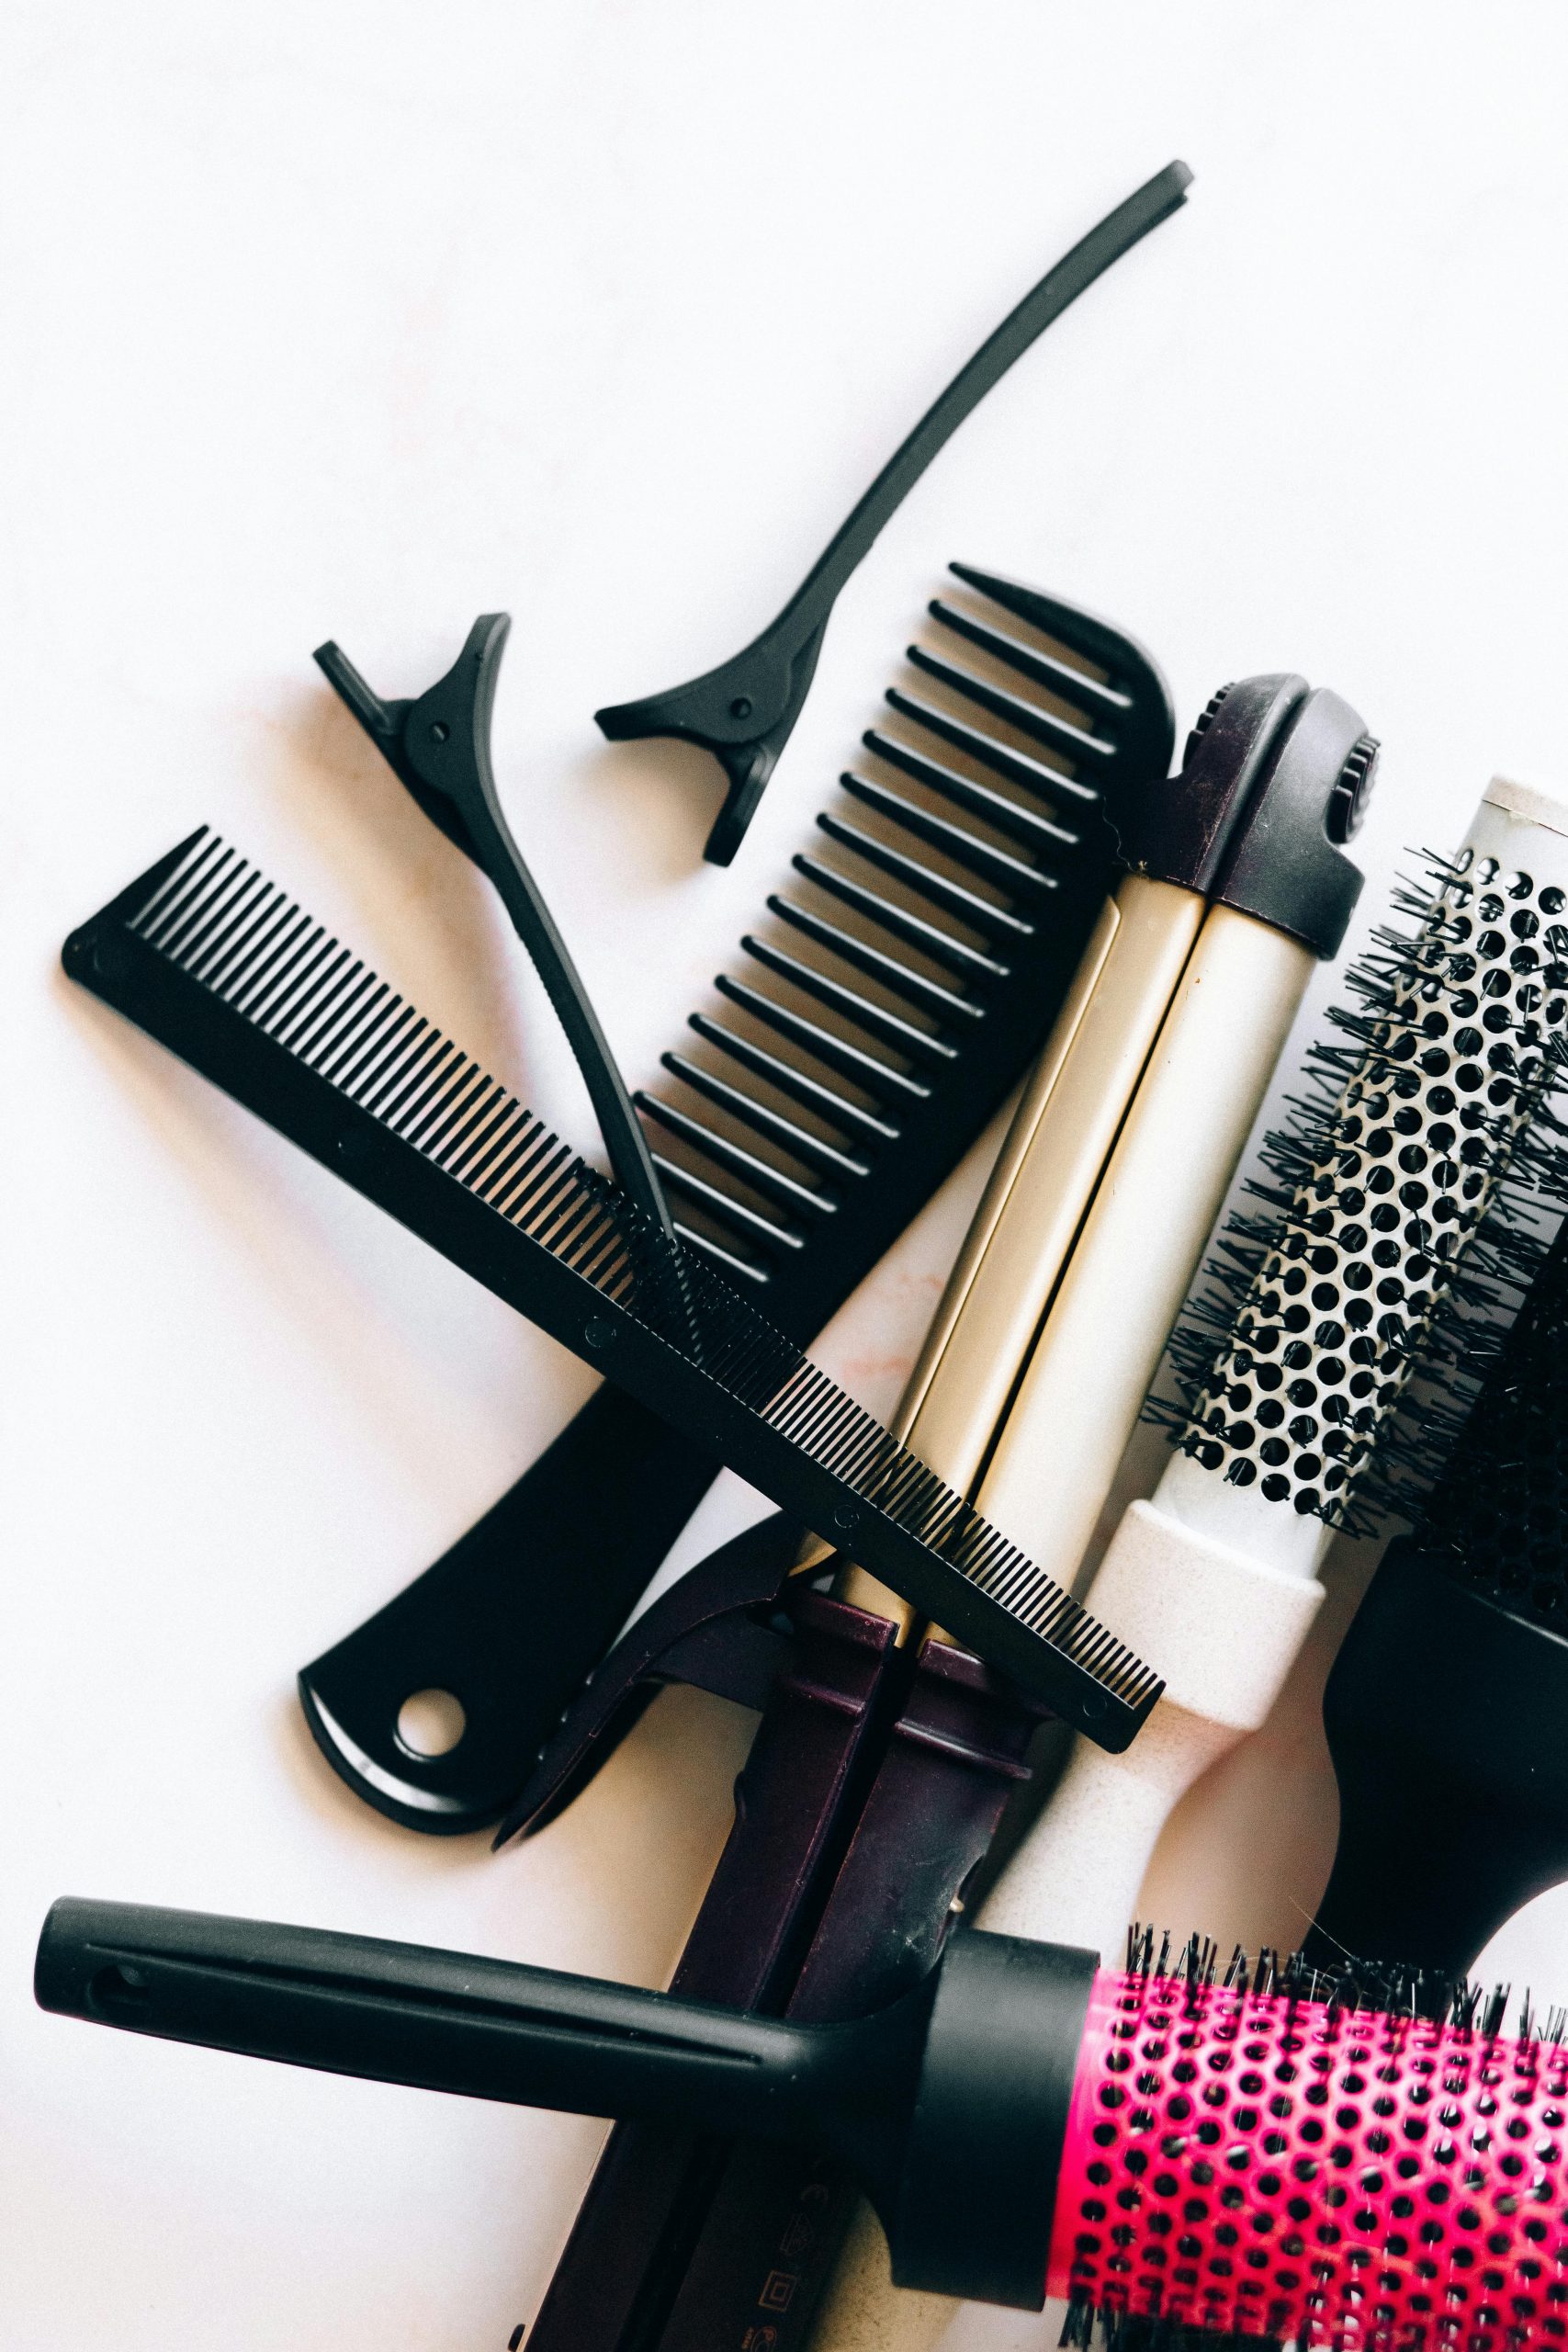
What You’ll Need Before You Start
Here’s your essential wig install kit:
- Got2b Glued Spray – for light holds or glueless installs
- Ebin Wonder Lace Bond Spray – for stronger lace melts
- Lace glue or adhesive gel (Ebin or Bold Hold) – for longer wear
- Wig cap (nude or brown, depending on your skin tone)
- Wax stick – to flatten flyaways and define parting
- Hot comb or straightener – for sleek styling
- Lace front elastic band – to melt the lace into your skin
- Spritz – to seal and set the hairline
- Scissors or razor – to cut lace precisely
- Edge brush – for baby hairs
Step One: Braid Down and Cap Prep
Start with a flat braid down—cornrows or plaits. The flatter your base, the more natural the wig will lay. Apply your wig cap and use a bit of Got2b spray or Ebin lace spray to freeze it in place. Blow-dry until set, then use foundation to tint the cap to your skin tone.
Step Two: Cut the Lace (But Carefully)
Place the wig on your head and align it to your natural hairline. Use scissors or a razor to carefully cut off the excess lace in small sections. Don’t cut in a straight line—go in a soft zigzag motion for a more natural finish.
Step Three: Melt the Lace
Lift the lace slightly and spray Ebin lace spray or apply lace glue along your forehead (never directly in your hairline). Let it get tacky, then pull the lace down and press it in with your fingers or the back of a comb. Wrap it tightly with an elastic band for 10–15 minutes to melt it into your skin.
Step Four: Flatten and Define
Use a wax stick and hot comb to press down the top of the wig for a sleek, laid look. This step makes the biggest difference—no bulky wigs over here. Redefine your parting with a little concealer if needed.
Step Five: Baby Hairs or Nah
Use a small edge brush to shape soft baby hairs (or skip them for a clean look). Apply a light touch of spritz to keep the style in place without hard buildup.
Step Six: Final Touches
Give your wig one final brush-through, add a few curls or flat iron it bone straight—whatever your look is. Set it with a bit more Got2b spray if needed. You’re done. Lace? Melted. Confidence? Unmatched.
Final Thoughts
Learning how to install your wig isn’t just a beauty skill—it’s a confidence tool. With the right products, patience, and practice, you’ll be flipping your part and laying your lace like a pro in no time.
Stick around—The Wellness Diaries is your go-to guide for calm, clarity, and care.